
A common question for cyclists coming to Japan is: Can you take bikes on the train? The answer is yes! This post and supporting video ‘How to take a bike onto the train in Japan‘ are our handy guides on how to take your bike on the train in Japan.
目次
- はじめに >
- Shinkansen (bullet train) >
- The Green Car >
- The Train Bag >
- How to use the Train Bag >
- Extra Pointers >
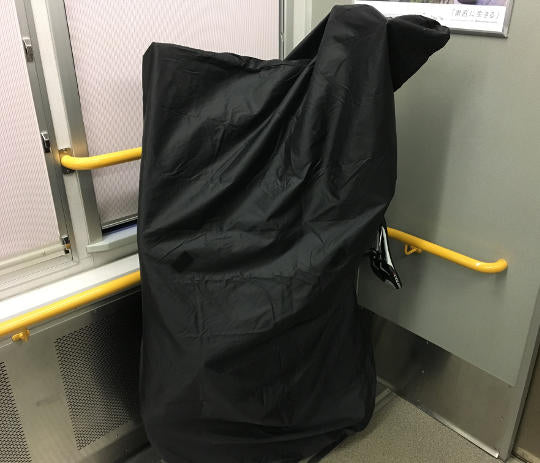
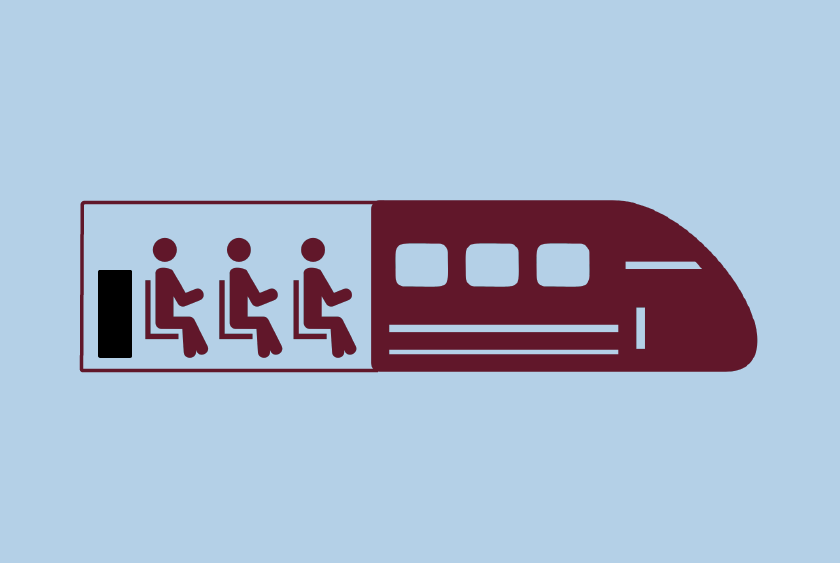
Taking bikes on the train in Japan isn’t as simple as it is for our friends in Europe or North America. To take a bike on the train it needs to be covered completely so essentially it’s just a large bag or a piece of luggage. There is overhead storage on most trains and if you have panniers, a backpack or any other bags, you can free up your hands by putting it above and then trying to get a good spot for your bike.
Shinkansen (bullet train)
It’s also possible to take your bike in the bag on the Shinkansen but there have been a few recent policy changes from JR regarding oversized luggage and it’s a good idea to check the JR Oversized Luggage reservation page for the latest information.
From our own experience of taking a bike of the bullet train, we have always used the space behind the back row that can be found on every carriage. However, this space must be reserved in advanced so it is recommend that you make a plan ahead to ensure you have a space to stow the bike.
One trick is to try and get on the Shinkansen that is starting from your destination. This means that the people at your station will be the first to board and there is more chance of reserving a rear-seat and snagging some storage space. In Japanese this is called ‘starting destination + hatsu’ so if you are going to Hakata from Osaka, I would ask the staff when the next ‘Shin-Osaka hatsu’ is.
The Green Car
The Green Car is the higher class car of the Shinkansen. They are more expensive but every seat has a bit more room and there is more chance to reserve a seat as they are more expensive and not always booked out.
The front seats and the rear seats have extra room for storage in the green car so if you have a larger frame and are worried about finding space on the Shinkansen, you can ask if any front or rear seats are available in the green car.
The Train Bag
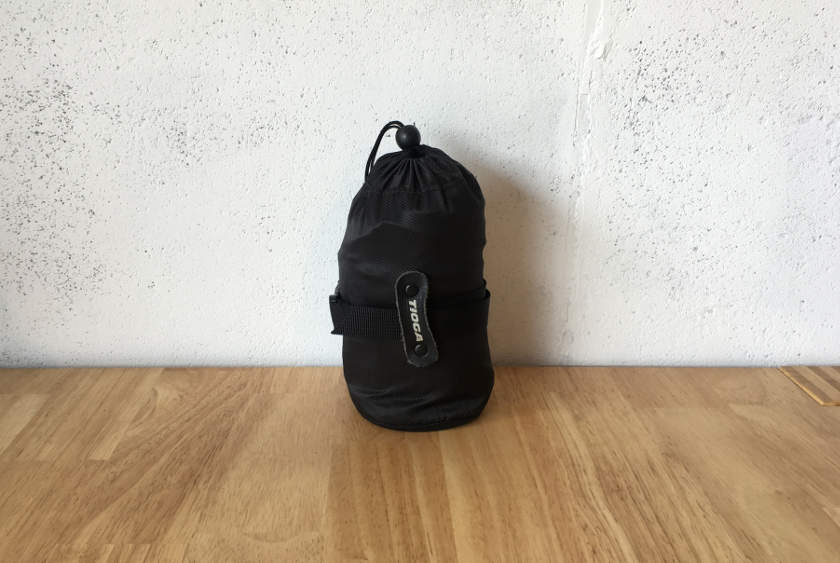
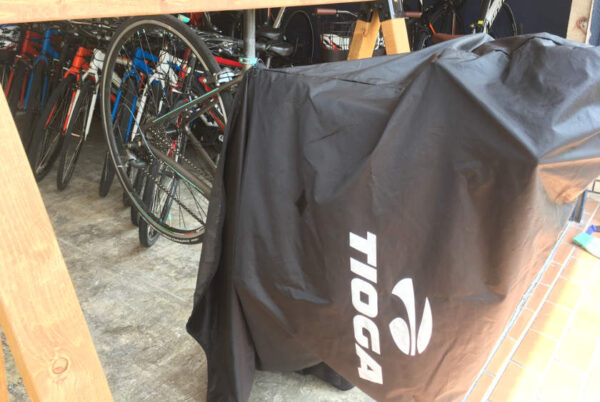
A train bag is a necessity when taking your bike on a train in Japan.
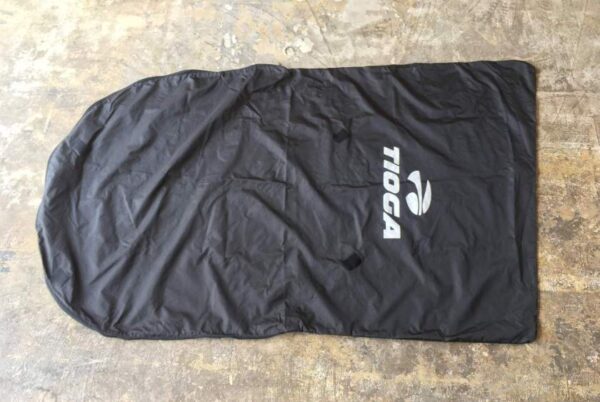
There are a few different kinds of train bags or ‘Rinko bags’. The RBRJ favorite is the Tioga Cocoon bag which we have been using reliably.
The bag rolls up into a small pouch just larger than a water bottle so it’s very compact when not in use.
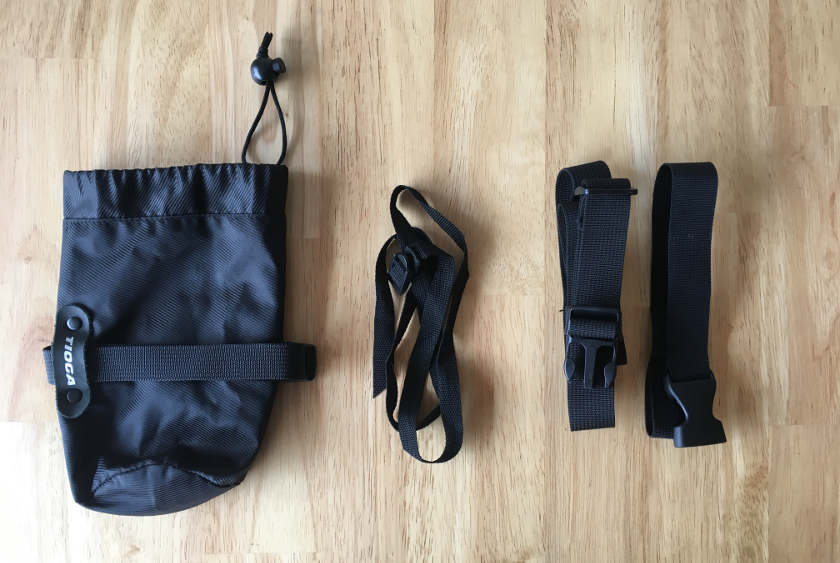
Inside the small carry bag you have:
- Bike Bag (see image further down blog)
- Small straps (in the middle of below image)
- Larger shoulder carry straps (two straps – on right in below image)
Instructions on how to put bike in a train bag
Time needed: 10 minutes
It only takes a few minutes to get your bike into a rinko bag. Follow the steps below.
- Take off front wheel and attach to frame
First, take the front wheel off and position the pedal and crank to face back and parallel to the chain stay.
Then using three of the smaller straps (there are more in the bag but we find three is enough) fix the front wheel around the frame, crank and chain stay area.You should attach the wheel to the left side of the bike (non drive-train side) and you can just tie the straps in bows.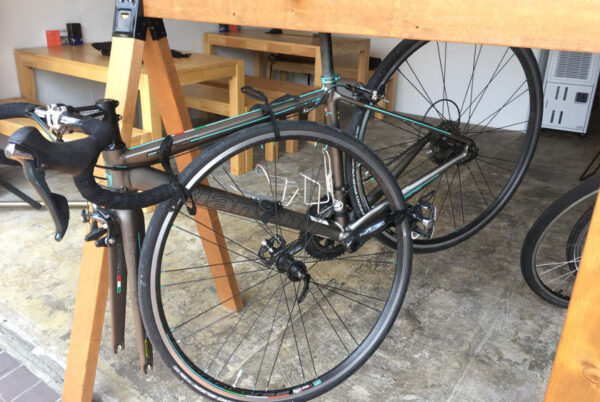
- Prep the bag
First, make sure you know which is the front, rear, top and bottom of the bag. The rear of the bag is round as that where the back wheel sits.
The top of the bag has a little hole to put a strap around the stem for the handle bars. The seat post will stick out between the two zippers (more about zipping up below).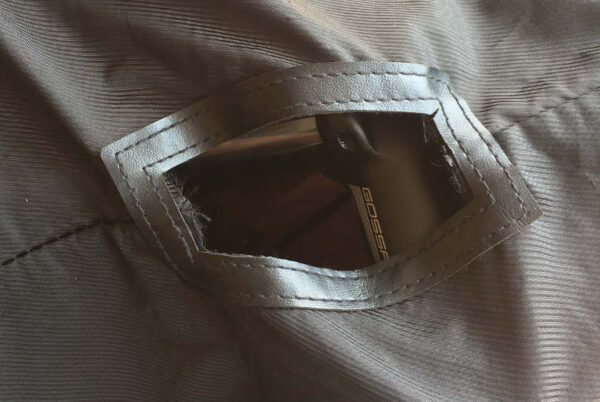
The bag opens and closes with two zippers at the back of the bag. Once you open the zippers it’s time to put the bike into the bag.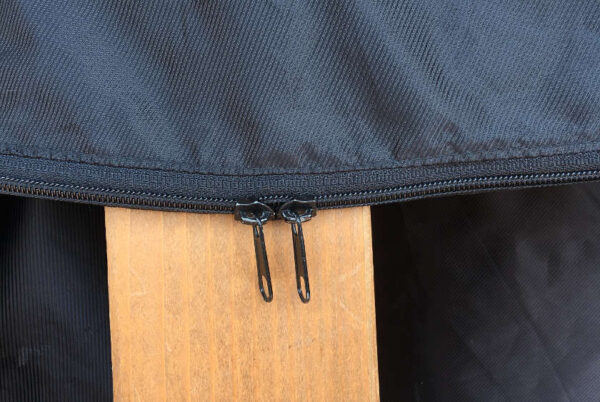
- Put the bike in the bag
Start putting the bike into the bag, handlebars first. The handle bars will turn to the side as you get more of the bike in the bag but you might need to give them a bit of a turn.
As you keep maneuvering the bag over and around the bike there might be times when it’s easiest to stand the bike on the rear wheel so you can get the bag moving around and covering the bike freely on both sides.
When the bike is properly in the bag you will be able to zip the bottom zipper around the chainring and back wheel.
When you are finished you will have both zippers zipped up snug on either side of the seat post.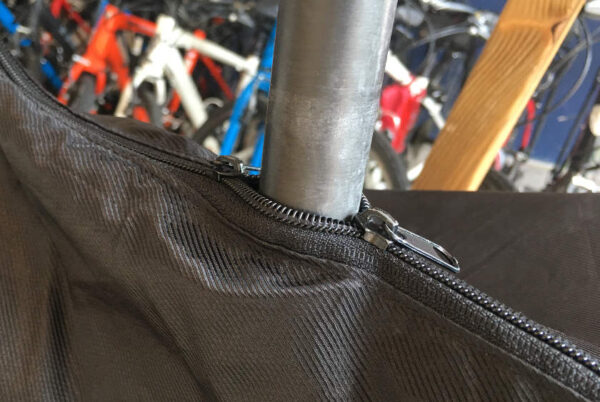
- Using the Shoulder Strap
If you like, you can attach the shoulder straps so you have the option of carrying the bike on your shoulder. This is useful when your hands are full with panniers or other bags so you need to carry the bike on your shoulder.
If you’re not holding any bags or you have a backpack, the shoulder strap isn’t necessary. I usually just carry the bike by the saddle with one hand and use my other hand to feed my ticket into the ticket gates.
Here’s how to put the shoulder strap on…
Use the longer strap on the seat post and the shorter one on the handlebar stem.
First, wrap the longer one around the seat post then thread the clip end through the loop on the other end. You can then pull it tight.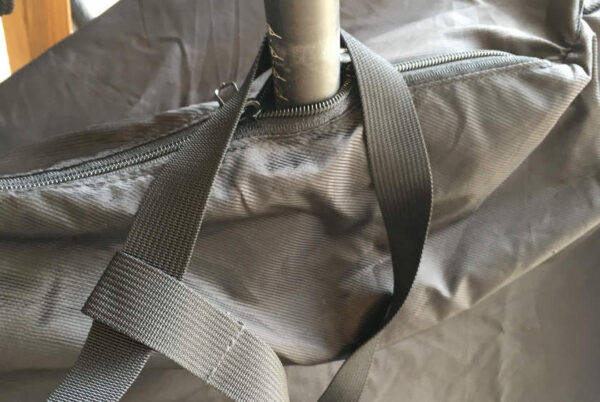
Then wrap the small one around the stem and thread the clip end through the loop on the other end. Pull tight.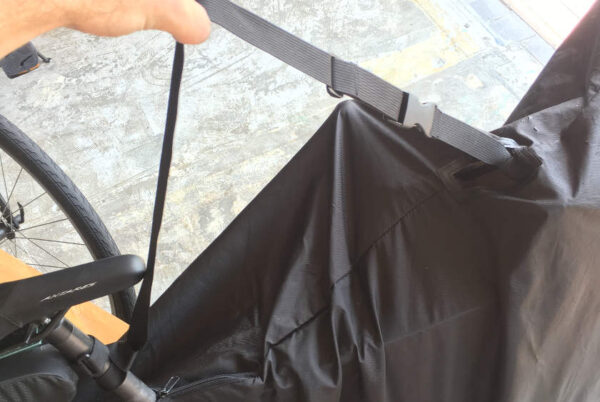
Attach the clips and there’s your shoulder strap. - Note on the seat post and saddle
According to some rules, JR does sometimes state in documents that the seat and seat post must also be covered and not sticking out.
However, from our experience of getting the train, we’ve never been asked to cover the seat when using the train bags.
If by chance staff asks you to cover the seat, simply zip the two zippers above the seat so it’s all covered. Depending on the size of your frame and the height of your seat, you might need to lower the seat a little so be sure to keep your multi-tool within reach just in case.
That’s it, you should now be ready to get the train with your bike.
Extra pointers
Don’t bag up under station staff noses
We recommend bagging the bike up a bit out of view from the station staff who are usually sitting in the booth near the ticket gates.
Even though taking bikes on trains when they are covered is allowed, it’s better not to invite too much attention or to be a nuisance.
Japanese stations can get busy and the ultimate goal of station staff is to make sure trains run on time with a minimum of fuss. So if you’re spread out in the middle of the station, or even worse in front of the ticket gates, you might be in people’s way and invite concern or questions from the staff.
I find getting packed and ready a bit away from the ticket gates and also getting your ticket early makes the process go much smoother. Then when you are ready, walk to the gates, pass through and head to the platform.
Avoid peak hour
If you can be flexible with time, avoid rush hour and enjoy a bit more space to put your bike down. If you need to get the train at a busy time, be organised and try to board at the ends of carriages as there is a bit more space for your bike and other bags.
まとめ
A rinko bag can really be the key to unlocking the door to many great cycling adventures in remote parts of Japan.
There are times when the train is busy, or you have a long walk with your bike and bags through the station to the different platforms, but stick it out and think about how you’ll be feeling when you’re back on the bike with the wind in your hair.