
無料の地図をダウンロードしてガーミンGPSで使う方法
Do you want to use your Garmin GPS device in Japan? If so this post is for you. We’ll show you the steps to downloading and installing OpenStreetMap on your Garmin so you can start exploring with your GPS today.
目次
日本地図はないのか?
サイクリングの旅にワクワクしながら日本に到着しましたね。
自転車でトレーニングしたり、地元のフレーズを勉強したり、食べたいものリストを作ったり、素敵な場所をリストアップしたり、と計画を練ってこられたことでしょう。
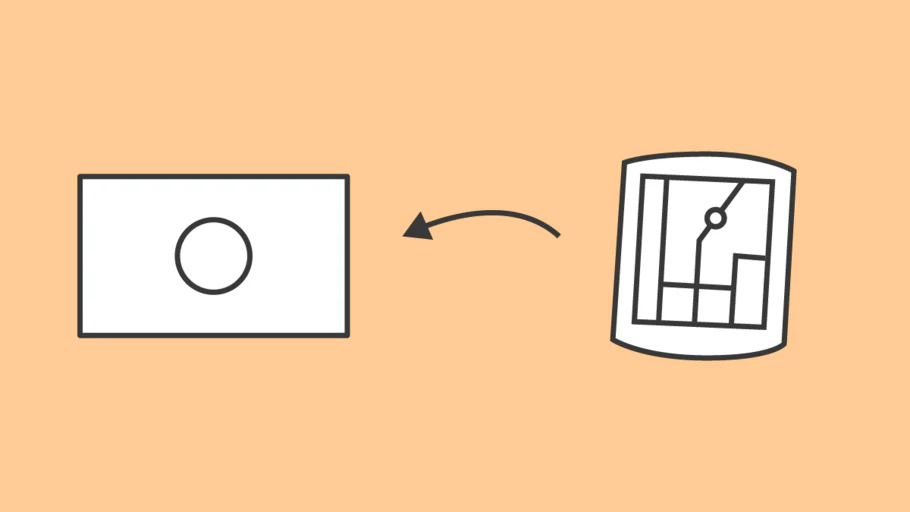
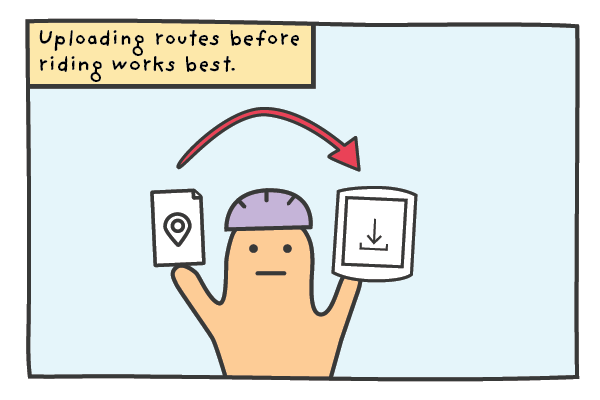
到着前にすべてのサイクリングルートをガーミンにアップロードしたのに、ヨーロッパや北米からデバイスの電源を入れると、地図が正しく表示されません。おかしくなってしまったか、壊れてしまったかのように見えるかもしれません。
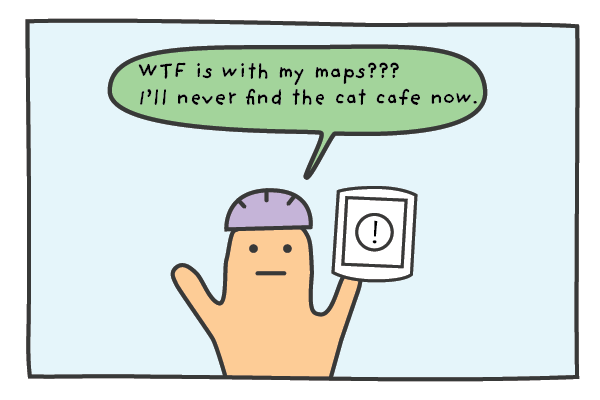
これは海外のライダーの方々にはよくあることです。出発前にガーミンをセットアップしてチェックしてきた多くのサイクリストが、旅先で地図やルート・ガーミンを使えないという状況に直面しているのを、目の当たりにしてきました。
Thankfully, there is a free solution and I’ll outline the step by step process to get your Garmin device working in Japan today.

OpenStreetMapの使用
日本にいる間に、ガーミンを正常に動作させる方法がいくつかあります。
One option is to buy the Garmin Map of Japan and install it on your Garmin. On top of having to pay for the maps, it’s actually pretty hard to navigate the Garmin website and find the correct download for Japan.
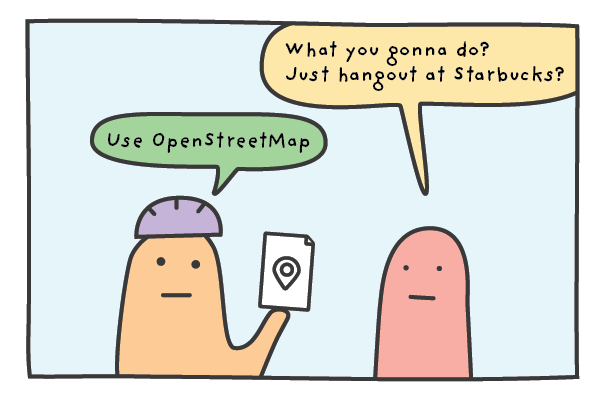
もう一つの選択肢はOpenStreetMapからの地図を使用することです。これはボランティアと有志によって作成された無料のwiki世界地図です。OpenStreetMapはオープンデータで、OpenStreetMapとその有志を信用する限り、自由に使用することができます。
We offer the data for download on our site and full credit goes to “© OpenStreetMap contributors”. You can read more about the foundation here and also view their copyright and license page here.
私共は、ガーミンエッジツーリングGPSにOpenStreetMapをインストールし、過去2年間問題なく使用しています。
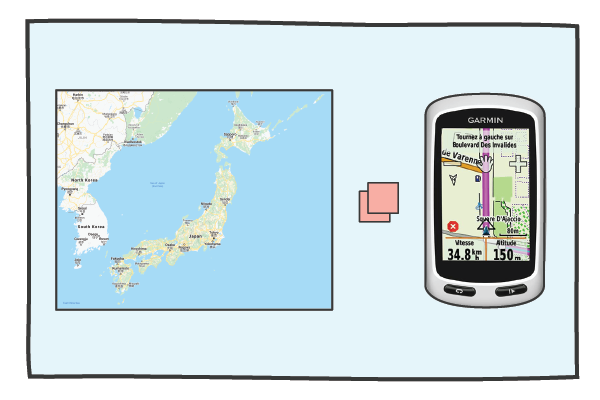
We bought our Garmin in Europe so it came with detailed maps of Europe of course but didn’t include the maps for Japan or for the rest of Asia.
私たちは以下の手順に従って、日本でデバイスを起動して動作させることができます。
インストール手順。
- Download the OpenStreetMap_Japan_contours file from the TMZ site.* – use google translate if needed.
- ZIPファイルを解凍する
- Insert your SD-card into your SD-card reader. If you don’t have an SD-card reader you can connect your Garmin directly GPS to your computer using a USB cable. Make sure that the SD-card is in the GPS unit before you plug it into the computer
- Open the SD-card with the file manager or finder. If there isn’t a folder on the SD-card called Garmin, you need to create one. Garmin must start with a capital ‘G’
- Copy the gmappsupp.img file into the Garmin folder on the SD-card
- SDカードを安全に取り外してGarminに挿入したり、コンピュータからGarminを取り出したりします。
- ガーミンの電源を入れます。日本OSM」を有効にして、他の地図を無効にする必要があります。日本OSM」の地図を有効にする方法は、GPSユニットによって異なります。以下のいずれかを試してみてください。
- ツール>設定>地図>地図情報
- ツール>旅のページ>地図>地図情報>地図を選択

*Use the top right zip file link for the most recent update with contours.
Video Support (Old site version)
改めて、ガーミンEdge Touringでこの処理を行いましたが、Edge 530 / 705 / 810 / 820と1000のデバイスでも動作すると聞いたことがあります。
ガーミンエッジツーリングの使い方のコツ
ガーミンGPSを使用した経験がほとんどない場合は、このセクションはあなたを念頭に置いて書かれています。
一般的に、Garmin Edge Touringは、走行前にルートを準備し、GPXルートファイルを事前にアップロードしておくことで、より効果的に走行することができます。
If you have your routes prepared and you are renting a RBRJ GPS unit you can send the GPX files over and we’ll happily upload the routes to the GPS unit before your rental starts.
If you would like to ride a RBRJ route you’ve seen on our blogs or Strava, just let us know the routes and we’ll make sure it’s uploaded and ready for your rental.
独自ルートのアップロード(GPXファイル
また、複数日のツアーに参加される方でPCをお持ちの方には、ガーミンのUSBケーブルもご用意しておりますので、外出先のデバイスに直接ルート(GPXファイル)をアップロードすることができます。
新しいルートをアップロードするには、以下の手順に従います。
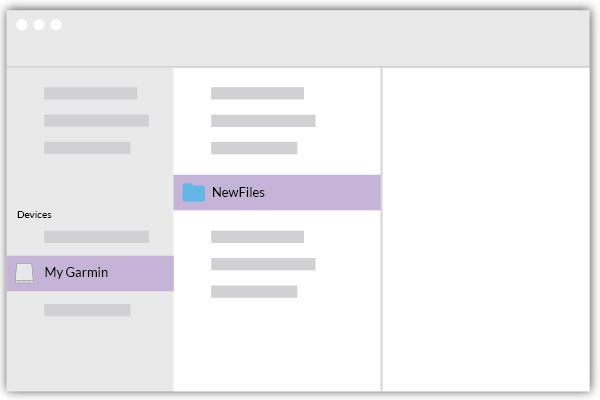
- USBケーブルをPCに差し込み、ガーミンを接続します。
- ガーミンファイルと名前のないファイルがデスクトップに表示されます。
- Garminファイルを開き、「New Files」フォルダを探します。
- ルートファイルをNew Filesにドラッグ&ドロップします。
- 転送を待ってから安全にGarminを削除します。
ルートをアップロードした後、端末のメニューから以下の手順でアクセスすることができます。
- どこへ行くのか
- 保存された
- コースのご案内
- 路線名
- 乗る
ルートプランナーの注意点
ルートを準備していない場合は、ガーミンに内蔵されているルートプランナーを使用することも可能ですが、最終手段として使用するようにしています。ガーミンが作成するルートはヒット&ミスが多く、小さな画面を使って出発地や目的地を選択するのは時間がかかります。
事前にロードされたルートをナビゲートする際には、このデバイスが本当に輝いていることがわかり、複雑なセクションで提供されるより繊細な指示には常に感銘を受けています。
まとめ
If you want to use your own Garmin in Japan OpenStreetMap is a lifesaver. Just follow the instructions in this post and hopefully you’ll be navigating the cities, towns and mountains like a local.
If you don’t own a GPS but are thinking of buying or renting one for your trip we recommend getting one. The device is great at navigating and by leaving the directions to the GPS unit you won’t have to check your phone as much meaning you can save battery and spend more time taking in the sights.
Has anyone used the file and instructions in this blog successfully? Has anyone had any problems? We’d love to hear your experiences so get in touch if you have any questions or feedback.
安全で楽しいサイクリングを